The Dollars Are In The Details
Hello again!
We are almost through winter, thankfully. Time for us to thaw out and get down to business! Last time I spoke about My Design Workflow; today I want to expand on a few of those elements here as I wished I had more examples to pull form when I first started freelancing.
The first I’ll like to bring up is the questionnaire. I got this idea while working at a previous firm. It’s a great way to streamline information on the client and their project. I ask questions about their budget, what are their communication styles and speeds, what their timeline looks like etc. The form should be just long enough that you get decent information to begin building your proposal, but not so long that the client find it a bother to fill out. I’ve included a few examples of my fave questions from my own form down below:
What is your experience and knowledge in working with a professional interior designer and/or firm?
Are you or your representative quick at making decisions and choices when three options are presented to you?
What is more important to you, staying on budget, or the end results and the feeling a well-designed space evokes?
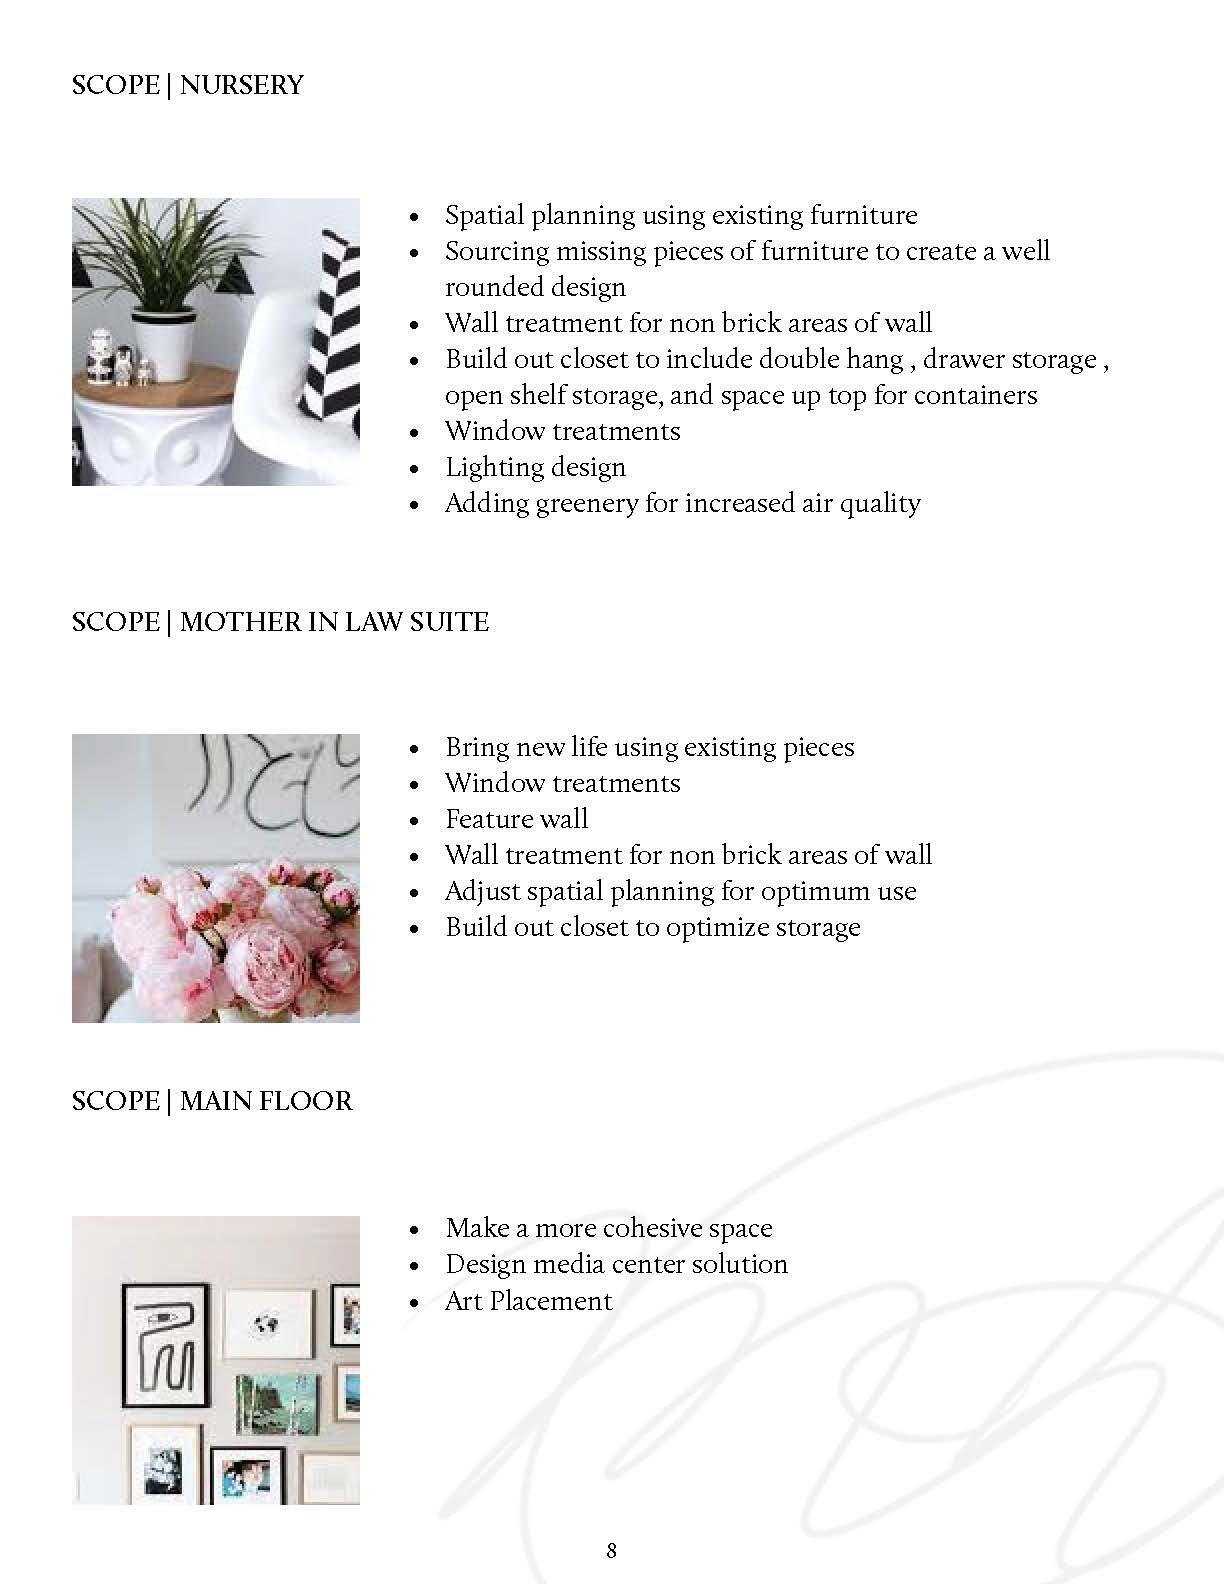
Following the questionnaire, we move to the proposal! This is where we can add a little life to the information received prior. I love a simple cover page with the basic project information on the front, and always believe in having a table of contents even if the document is on the short side. I use Adobe Indesign to put my document together, however you could use Apple Pages, or even Microsoft Word/ Google docs for more accessible options. Detailing the full scope of the project as well as highlighting the general design direction are the most important aspects of the proposal. Add a project estimate at the end and you’ve got an effective proposal on your hands!
One other vital deliverable are tear sheets for approval. To me, having these to present to a client ensures clear communication on the item being specified as well as the associated costs. You never want to find yourself in a position where a client can say “Well I didn’t approve this so I’m not paying for it”. For my tearsheets, they are simple in design but hold enough information that the client can make an even more informed decision once presented. Some key information I always make sure to include are:
MSRP: I charge a commission on purchases as opposed to a markup for transparency so the retailer/ trade pricing is what goes here
Total Cost/ Shipping & Handling: I like to get the final number as close as possible. If there is only 1 item from a retailer I will always include shipping and handling. If there are multiple, I put the base MSRP and then note that it doesn’t include that cost.
Shipping & handling Cont’d: In the likely event there are multiple purchases from 1 vendor which inhibits my ability to input the full amount, I’ve begun making a separate tearsheet with those costs itemized. How I do this hasn’t been fine tuned to a final form yet, but making one like my examples below except with a delivery truck image would work just fine.
Lead times: I always make sure to put how long to expect delivery. Sometimes a client loves an item so much but the lead time doesn’t work with their schedule. It’s important to highlight that information so you don’t end up waiting 3+ months for a side table you thought would be there in time for their move-in day. It comes across as negligent and a bit unprofessional. We want to steer clear of those adjectives haha.
These are just a few parts of all the work that goes into communicating with a client from approach to project start. I hope these examples help you in your freelance ventures, or if as a client it sheds some light as to how much an Interior designer actually does. For the designers, does your workflow sound similar? if not, how does it differ? For the design enthusiasts, which part did you find the most interesting? Sound off in the comments below, let’s talk shop ;).
Till Next Time
XOXO
MH


